Quick & Easy Hitty Dress Sewing Tutorial

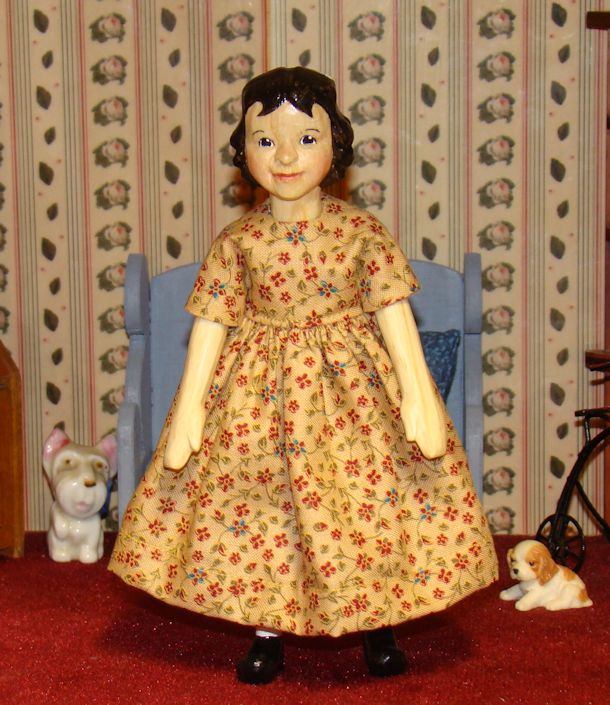
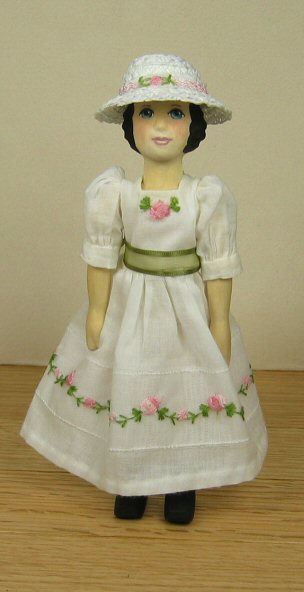
Hitty Belle in her finished dress

Quick & Easy Hitty Dress Sewing Tutorial

Tutorial © 2012-2015 Maria Thompson — All Rights Reserved

I hope you enjoy this tutorial, and I also hope that you find it useful in learning how to sew a simple yet elegant dress for your Hitty. These dresses, although plain, can be made into elegant gowns with just a bit of lace and additional trim! Experiment, and I hope you have fun sewing a whole wardrobe of dresses for your Hitty!

Read more

Hitty Cradle From The Book

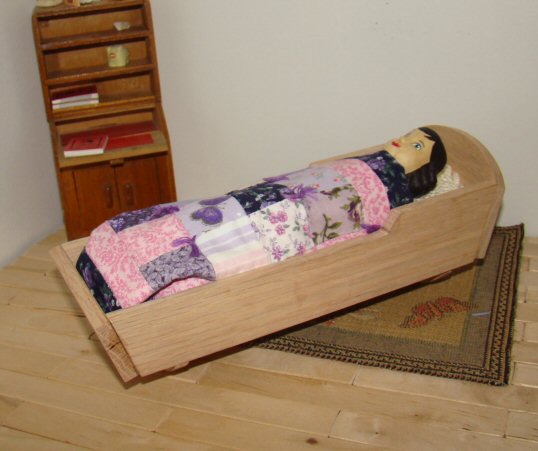
Below I share the pattern that I designed to make the cradle from the book.  I followed the illustration as best as I could, to create as close of a replica as I could make.

This wonderful cradle does rock, and is balanced well so that it doesn’t topple to its side when a Hitty is resting in it.

Read more

Hitty Chardonnay

I wanted to share this delightful portrait of Hitty Chardonnay with site visitors.  Hitty Chardonnay was carved with a knife from a turned blank.   She was carved by Gale Lyons, a Hittygirls member who offers her carving instructions on CD.

Hitty Chardonnays wonderful hat and dress were also made by Ms. Lyons.

Read more

More about carving a Hitty

My tutorials cover the basics about carving a Hitty.  My methods for carving a turned Hitty are probably different than others, but these are the methods I use, and I hope that they are useful to site visitors.

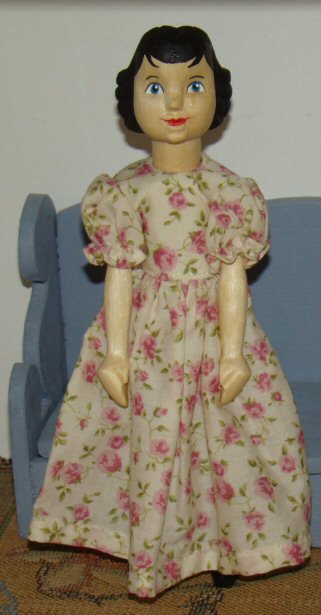
Here’s a photo of the Hitty I carved to create the tutorials, after she has been pegged, painted, sealed and dressed.   Her name is Hitty Herald, and she is now the official Hitty Herald mascot.  She will be sharing many fun adventures with site visitors in the future, as well as helping me with future patterns and projects.  She has a lot of fun in store for site visitors in the future, she wanted to say that the fun has JUST BEGUN!

Read more

Sanding your Hitty

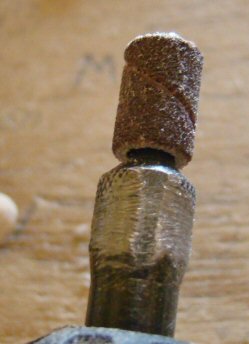
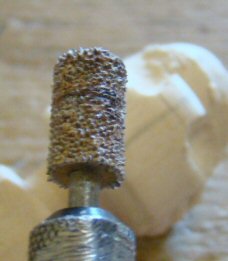
I use a fine grit barrel sander to sand most of my Hitty, but certain areas of the Hitty needs something smaller.  Once I sand the Hitty with my dremel, I do the final sanding by hand using 300 grit or finer sandpaper.

Below is an image of the barrel sander I use for sanding the body, V-Joint, and most areas on the arms and legs.

Read more

Carving the face

This tutorial is rather long with a lot of information, and a lot of images.  I know the page will probably load slowly for some with slow connections, but please wait patiently as the images load.   It is very image intensive.

You will be using your rough cutter to begin with, but switching from bit to bit as your Hitty’s personality emerges.   I use two dremels when I am carving the face, simply because I don’t like to stop and change my bit so much.  I like to pick up a dremel and keep carving while things are flowing smoothly for me.  If you only have one dremel, just remember, you will be changing your bits a lot, so have them handy before you begin the face.

Read more

Carving simple curls

This tutorial covers carving simple curls.  There are many different methods one can use to carve their Hitty’s curls and I encourage you to experiment as you carve so that you can create your own special version of curls for your Hitty.

This tutorial explains how to make simple “grid pattern” curls, where all curls are neatly in line in rows going up and down, and side to side.  I have carved curls where they were placed random for a more “natural” look, and I have carved curls so tiny that one could barely see them.  Of course when using a dremel, one can only do so much.  Very tiny curls and random curls are very hard to achieve with power carving, but can be carved with a good carving knife.

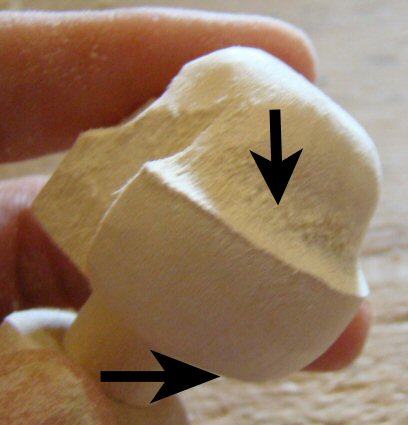
To begin, first you’ll need to do some sanding on your Hitty’s head.  The areas shown in the photo below will need to be sanded to a fine finish.  If you do not sand the head now, before you begin carving, then you’ll end up with a “very fuzzy headed” Hitty.
Read more